Storing Lettuce and Bagged Greens

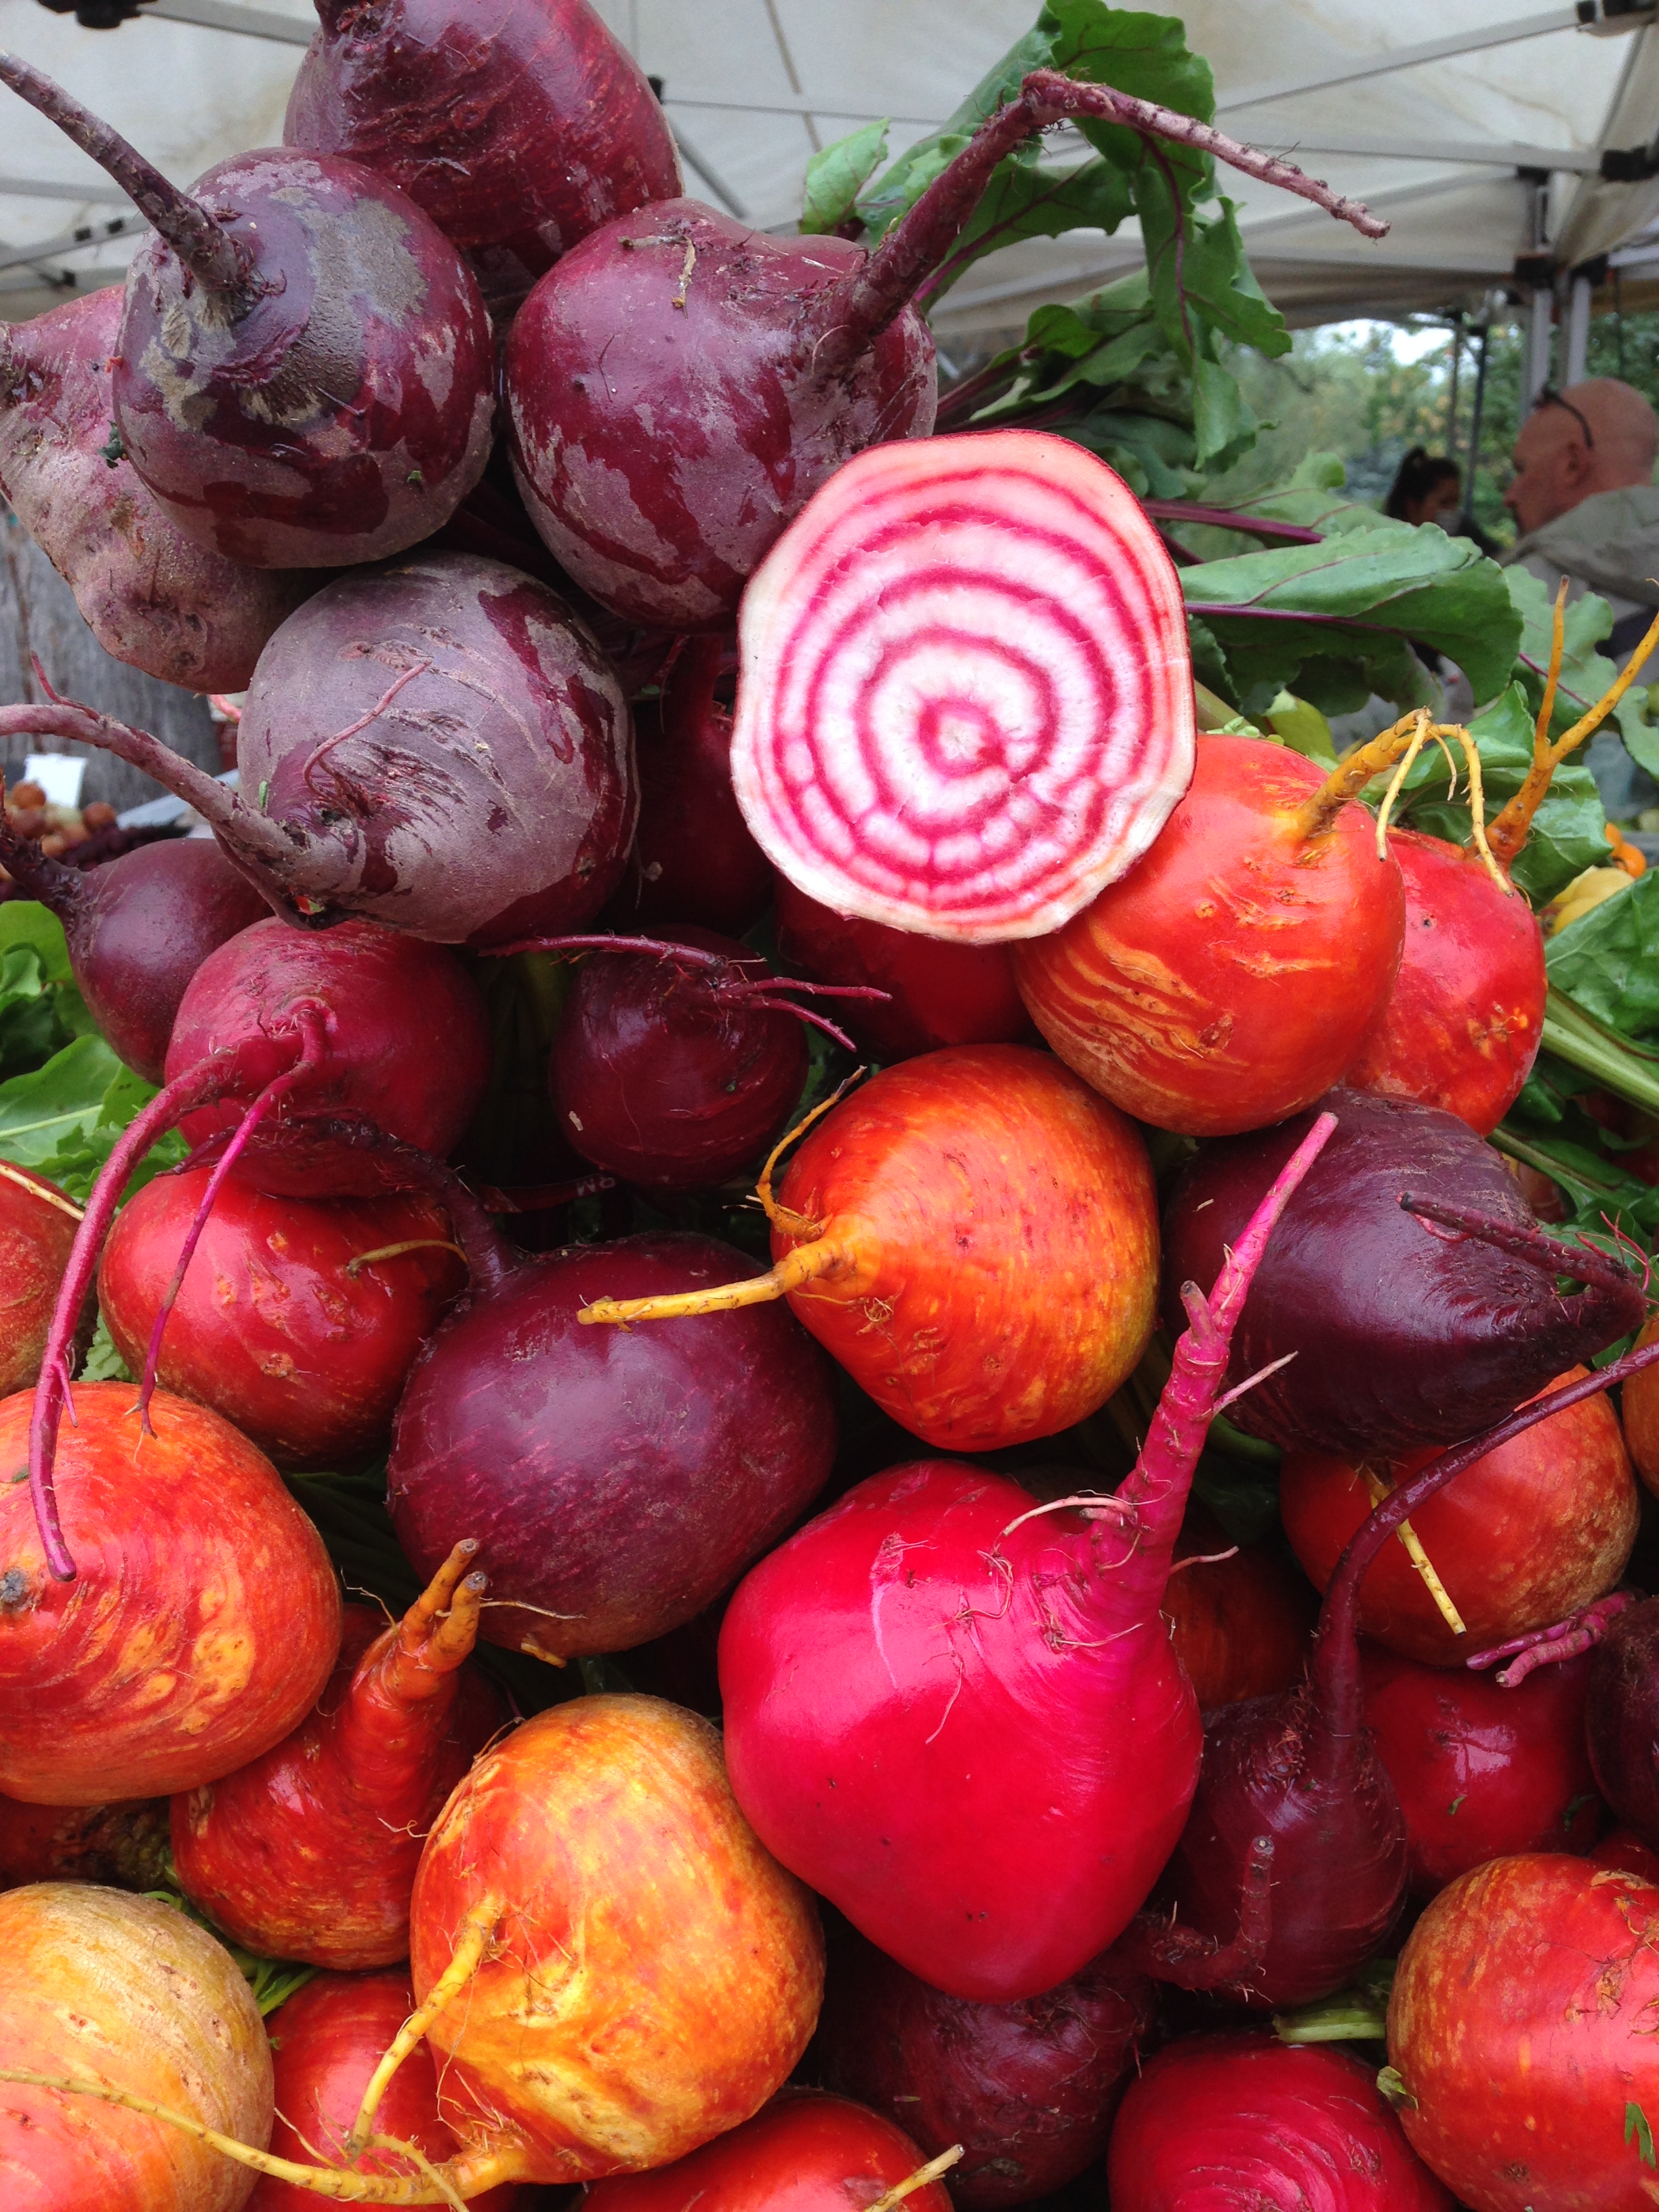
We get lots of greens here at Red Wagon CSA (yay!) so I thought I would show people how I store my lettuce and cut greens for maximum freshness and ease of use.

We weigh, bag, and seal the lettuce or greens right before you pickup your CSA share. Everything is harvested, rinsed off in the wash station at the farm and packed loose in the big white coolers each and every day. We set up the tent and tables at the CSA pickup, then start bagging lettuce and greens. We weigh each bag so each is portioned exactly. Then we seal the bags with the red ties.

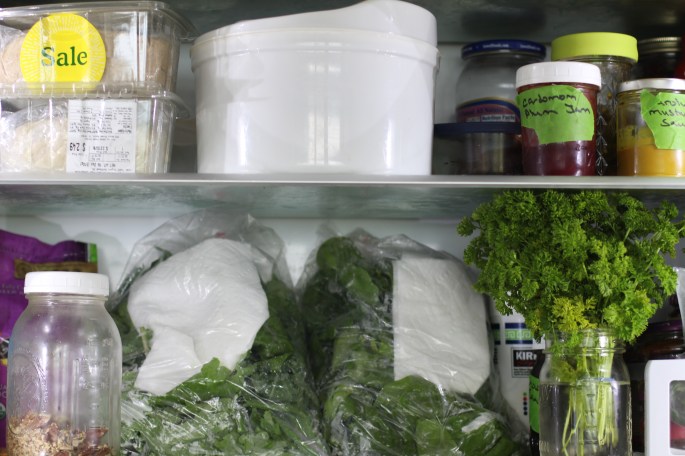
You can store the greens in the sealed bag you get them in from us if you like, but remember; you still need to wash everything before you eat it. Greens will last at least 4 or 5 days stored as is.

I like to have my greens ready to eat, so I wash and dry them right when I get home so they are ready to cook or eat for meals during the week. I find they last a little longer too, at least a week and maybe a little longer if I take this extra step.

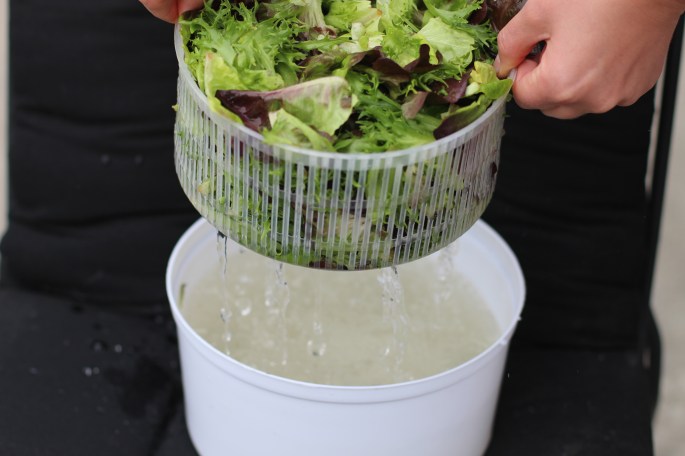
I carefully snip the little red tape that seals the bag. I reuse the bag for cut greens like baby kale and spinach. That is why I don’t just rip into the bags. I like to store my lettuce and arugula in a salad spinner. I only have one salad spinner. If I had more I would use it to store more of the greens.

I wash the greens or lettuce and drain it and give them a good spin to really get them good and dry.

IMG_0168

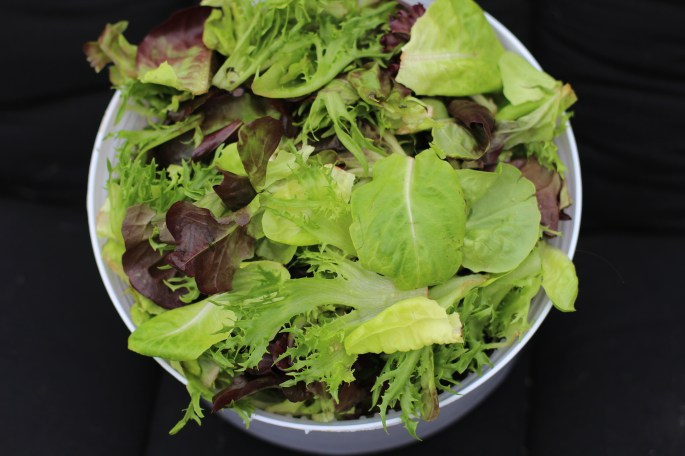
I just store the washed and dried lettuce in the salad spinner and it is clean and ready to eat and keeps for at least a week like this.

IMG_0165

I wash and spin all the greens I get, then I dry out the bag if I I am reusing it. I use a paper towel to dry it, and then I fold up the paper towel and leave that in the bag. The paper towel keeps the moisture in the bag even, so you don’t get those weird slimy leaves that make the whole bag go bad.

Now my lettuce and greens are clean and easy to grab and use.

IMG_0172

It just takes a few minutes to do and I find I and more inclined to use the produce if it is ready to eat.

I hope this is helpful.

Have a great week.

Mo

Posted in 2017, Recipes, Storage and Preparation | 2 Comments

CSA Week 6

Here is our tentative list of what we **hope** to bring you this coming week.

Kohlrabi

Regular Share
Herb Choice
Young Garlic
Peas: NOTE: the variety will depend on availability
Beets
CHOICE: Salanova Heads OR Romaine Heads OR Spinach
CHOICE: Kale OR Swiss Chard OR Collard Greens OR Bok Choi
CHOICE: Kohlrabi OR Hakurei Turnips

Large Share Additions
Two Other Items

Posted in 2017, Farm, Newsletter | Comments Off on CSA Week 6

Green pancakes

These are some hardy savory pancakes packed with lots of greens. I really like this dish because it is really simple and quick to put together. You can make the batter early in the day, or even the day before and have a quick satisfying brunch or dinner in  no time.

IMG_0141

Here’s how you make them.

Green Pancakes

You’ll need;
1 cup all­ purpose flour
1 teaspoon  of salt and few cranks of fresh pepper
4 eggs
1 garlic clove chopped or equivalent of green garlic or garlic scapes
2 tablespoons dry white wine (optional I used vermouth)
1/2 cup milk (or unflavored, unsweetened nondairy milk)
a bunch of Swiss chard leaves or spinach or kale, finely chopped really chopped!
Olive oil for cooking

To make;

In a medium bowl, combine the flour salt and pepper. In another bowl mix all the wet ingredients, then combine wet with dry. Cover and refrigerate the batter for at least 2 hours, or overnight.
When ready to cook, remove the bowl from the fridge and mix in the chopped greens.

IMG_0109

In a heavy skillet, heat some olive oil over medium heat. Add about 1/4 cup of the batter to the hot skillet for each pancake.

IMG_0123

Cook until the edges are set, about 4 to 5 minutes. Flip and cook for 3 to 4 more
minutes, take your time and go slow with the heat so the pancakes cook through.

IMG_0126

This makes about 10 or 12 pancakes.

You can serve them with yogurt or sour cream or some of that cashew aioli  we made last week, that is what I used.

IMG_0143

These make great leftovers too and are good cold or reheated. I hope you try these.

Mo


Posted in 2017, Greens, Recipes | Comments Off on Green pancakes

Chard Pizza

IMG_0094
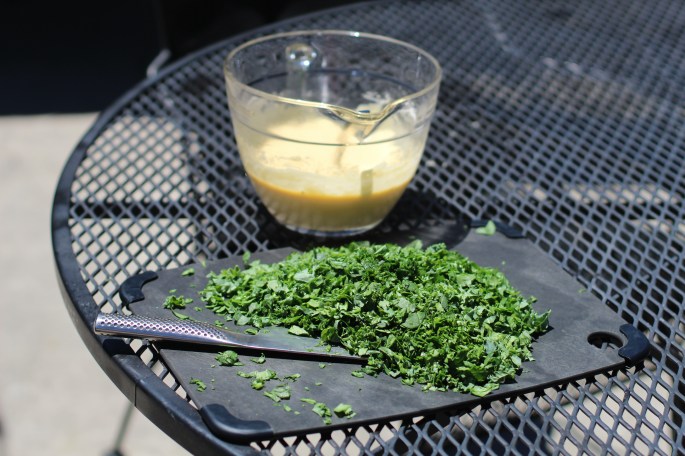
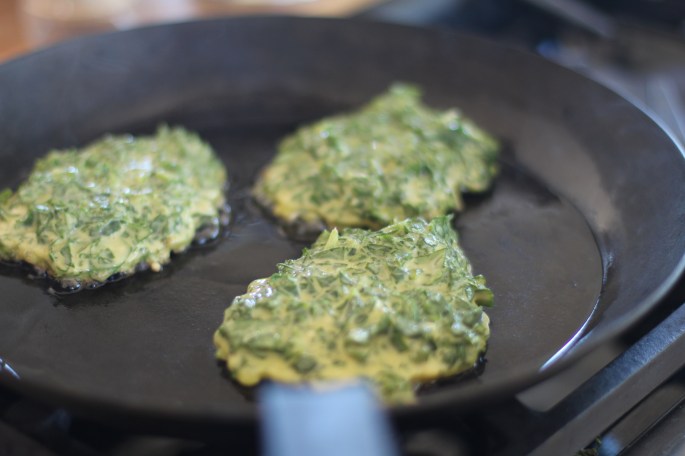
Friday nights are often pizza nights here. I like to clean out the refrigerator vegetable and cheese drawer and throw whatever I find on the pizza. This Friday I had some chard, so I made a couple of chard pizzas and boy were they good. I took a couple pictures to share here, and maybe inspire you to do something a little different with your CSA  greens and maybe make a chard or kale or spinach pizza.


I usually make my dough, but sometimes I’ll buy the dough from the store. I stretched out the dough, and I shredded about 1/2 a bunch of chard and mixed that with some cheese and a little drizzle of olive oil and salt and pepper and red pepper flakes. Then I tossed it in a bowl.

Then I put it on my dough.IMG_0091

And baked it. I could have used more chard. I will use about twice as much next time.

IMG_0099

The second pizza I left the chard leaves whole and rubbed a little olive oil on them and I used fresh mozzarella (and pepperoni on 1/2 the pizza).

IMG_0101

I liked the second pizza best, with the whole chard leaves.

IMG_0105

I think anything we get in our CSA share would be great on a pizza I could have put lots more vegetables on and I will next time.

Have a great week.

Mo


Posted in 2017, Chard, Greens, Recipes | Comments Off on Chard Pizza

CSA Week 5

Beets with cut Chioggia Beet

Here is our tentative list of what we **hope** to bring you this coming week.

Regular Share
Salanova Lettuce Mix
Spinach
Young Garlic
Grilling Fava Beans
CHOICE: Beets OR Hakurei Turnips
Peas- NOTE: either Snow Peas or Sugar Snaps depending on availability

Large Share Additions
Large Bag of Peas
Kohlrabi

Posted in 2017, Farm, Newsletter | Comments Off on CSA Week 5

Vegan Cashew Aioli/Cream Sauce

Wyatt and I were talking about cashew aioli and cashew sauce the other day so I thought I would post a basic recipe for it. You can start with this recipe and add herbs or spices. Substitute different oils for the  water. You can use this for a dip, or a spread or a sauce.

IMG_0074

I added herbs, you can sort of see them in the photo. You can double the recipe and freeze it too. You will find all kinds of uses for this. This thickens up in the refrigerator and the flavors blend. So, when you are seasoning and tasting it keep that in mind.

Cashew aioli/spread/sauce

1 c raw cashews soaked at least 2 hours

1/4 c water or any oil like olive oil or coconut oil you might need more if you want to thin it out
2 small cloves garlic or the equivalent of green garlic or garlic scapes
juice of 1/2 a lemon or lime
1 tsp vinegar
pinch of salt
1 teaspoon of mustard is optional or any other seasonings you fancy

Method;

  1. Drain and rinse your cashews, then add all ingredients to a high speed blender and blend for 2-3 minutes until super creamy, scraping down the sides a few times in between to push down any chunks.
  2. Pour into a  jar and keep in the fridge for up to a week.

Note – please use any of my recipes and posts as a guide, they are written knowing that ingredients change by seasons and tastes differ cook to cook.  Adjust freely and accordingly and enjoy the process – I do!

Have a great week.

Mo

Posted in 2017, Miscellaneous, Recipes | Comments Off on Vegan Cashew Aioli/Cream Sauce

Chard Breakfast Quesadilla

We are getting into Summer vegetables and Swiss Chard is a favorite of mine. I did a post a while back called Chard 101 covering the basics of this great vegetable. If you aren’t familiar with chard you might want to check out that post.

No recipe today. Just a few pictures to remind you that vegetables are great for breakfast too.

IMG_0063IMG_0066IMG_0067

Note – please use any of my recipes and posts as a guide, they are written knowing that ingredients change by seasons and tastes differ cook to cook.  Adjust freely and accordingly and enjoy the process – I do!

Mo

Posted in 2017, Chard, Recipes | Comments Off on Chard Breakfast Quesadilla

CSA Week 4

Here is our tentative list of what we **hope** to bring you this coming week.

Regular Share
CHOICE: Kale Or Swiss Chard OR Collard Greens
CHOICE: Radishes OR Broccoli
CHOICE: Sugar Snap Peas OR Grilling Favas
CHOICE: Garlic Scapes OR Scallions OR Green Garlic
CHOICE: Mint OR Sage OR Oregano OR Nasturtiums
CHOICE: Arugula OR Salanova Lettuce Mix OR Spinach

Large Share Additions
Two Other Items

Posted in 2017, Farm, Newsletter | Comments Off on CSA Week 4

Rhubarb Mint Lemonade

This lemonade tastes like summer. Using rhubarb makes the tart acid of the lemons more balanced. I added some mint too. Just because it was growing next to my rhubarb. After I picked the mint I saw some thyme in a different area of the garden and thought that might be nice too, I think I’ll try thyme next time I make this.

All you need to make this is:

1 1/4 pounds of rhubarb stalks chopped up

1 cup of sugar – I used raw sugar but use what you like.

4 lemons to get 1 cup of juice and zest from a couple of those lemons

A handful of mint or other herbs you might have – optional, but really good.

Heat 4 cups of water and the rhubarb and sugar in a pan until it boils. Turn down the heat and let it simmer for a half hour or so. While that is simmering juice and zest the lemons. Remove the pan from the heat after 1/2 an hour and add the lemon juice and zest and herbs if you are using any. Cover the pan and let that cool. When it is cool strain out all the solids and refrigerate it. You can serve this with ice and some sparkling water, or even with a little rum or tequila. This will store in the refrigerator for a week.

Look how pretty and pink it is!

Cheers.

Mo

Note – please use any of my recipes and posts as a guide, they are written knowing that ingredients change by seasons and tastes differ cook to cook.  Adjust freely and accordingly and enjoy the process – I do!


Posted in 2017, Herbs, Recipes, Rhubarb | Comments Off on Rhubarb Mint Lemonade

Easy Green Garlic and Greens Risotto

This is a really easy one dish meal or side dish. I think this is every bit as good as risotto made on the stove that you stand over and stir for a half an hour and that takes several pans and utensils.
This takes about 5 minutes of hands on time and it is ready in about 1/2 an hour, and like I said before. It just takes one dish.

Most recipes say to use Arborio rice for risotto, but I rarely have that. I use any short grain rice I have on hand and it always works out fine. This time I used sushi rice.

You can sub any garlic you have, or even shallots or green onions. Use any greens you like too or even nuts or leftover bits of cheese you have lurking in your refrigerator. This is one of those dishes you can’t mess up. Enjoy.

IMG_0035

Ingredients

1 1/2 cups rice

5 cups  stock,  divided

1/4/ cup freshly grated Parmesan cheese

1/2 cup dry white wine – I used vermouth

2 Tablespoons Olive oil – salt –  pepper – 5 or 6 cloves of green garlic or leeks and a few handfuls of any greens you have.

Directions Preheat the oven to 350 degrees. Heat the olive oil and chopped garlic in an ovenproof  pan and let it get soft. Add the rice and 4 cups of the chicken stock. Cover and bake for about 25 or 30 minutes, until most of the liquid is absorbed and the rice is cook firm, try to not let it get mushy. Remove from the oven, add the remaining cup of  stock, the Parmesan, wine/vermouth, salt, and pepper, and stir vigorously for 2 to 3 minutes, until the rice is thick and creamy. Add the greens and stir until they are wilted and heated through. Serve hot and top it with a little drizzle of olive oil and more pepper and Parmesan cheese.

Have a great week.

Mo

Note; please use any of my recipes and posts as a guide, they are written knowing that ingredients change by seasons and tastes differ cook to cook.  Adjust freely and accordingly and enjoy the process – I do!

Posted in 2017, Garlic, Recipes | Comments Off on Easy Green Garlic and Greens Risotto